How to Convert Video to Notes Efficiently and Accurately
Ever clicked on a lecture video and felt the minutes melt away before you even grasp the main point? You're not alone – we've all stared at a screen, notebook untouched, wondering how to squeeze the essence out of two, three, maybe even an hour‑long video.
Boost your productivity and drive results with YTSummarizer – the AI‑powered video‑to‑notes SaaS that turns hours of content into concise, share‑ready summaries in seconds.
That's exactly why the idea of converting video to notes feels like a secret shortcut. Imagine watching a tutorial, then instantly having a tidy list of key takeaways you can flash before an exam or a client call. No more frantic rewinding, no more scribbling half‑finished bullet points that make no sense later.
But how does that magic actually happen? In our experience, the trick is letting an AI do the heavy lifting. It watches the video, picks up the important moments, and spits out a concise summary you can copy straight into your study guide or meeting agenda. The result? You get the knowledge without the time sink.
Think about the last time you tried to extract information from a conference talk. Did you end up with a stack of timestamps and a vague sense of what was covered? Now picture a clean paragraph that says, "The speaker highlighted three trends: X, Y, and Z, and recommended A, B, C." That's the power of a good video‑to‑notes workflow – and YTSummarizer makes it effortless.
So, what should you look for when you start converting video to notes? First, clarity – the summary must be easy to scan. Second, relevance – only the points that matter to your goal should survive. Third, structure – headings or bullet points help you jump straight to the part you need.
We've seen students use these summaries to build flashcards, professionals turn them into briefing documents, and researchers pull out citations without watching every minute. The common thread? They all saved time and reduced mental fatigue.
If you're ready to stop drowning in video content and start swimming in concise notes, keep reading. We'll walk through the simple steps you can take today to make the conversion process effortless – and we'll show you exactly how YTSummarizer can supercharge each step.
TL;DR
If you're drowning in endless lectures, our quick TL;DR shows how to convert video to notes in seconds, giving you crystal‑clear takeaways without the time sink.
Just grab the summary, copy it into your study guide or briefing, and move on—saving mental energy for the work that really matters today. Try it free today and see the difference.
Table of Contents
- Step 1: Choose the Right Tool for Converting Video to Notes
- Step 2: Upload Your Video and Set Transcription Preferences
- Step 3: Generate Notes and Refine the Output
- Step 4: Organize Notes into Structured Outlines
- Step 5: Export and Share Your Notes
- FAQ
- Conclusion
Step 1: Choose the Right Tool for Converting Video to Notes
Before you can turn a two‑hour lecture into a tidy bullet list, you need a tool that actually understands what matters. It's tempting to grab any random app, but not all summarizers treat the video like a conversation you'd have with a study buddy.
First, ask yourself: does the tool transcribe accurately? If the transcript is riddled with errors, the summary will be a mess. Look for AI that can handle different accents, background noise, and even on‑screen text. In our experience at YTSummarizer, the best performers combine speech‑to‑text with a layer that detects key concepts.
Feature checklist you can use right now
- Accurate, multi‑language transcription (so you don't miss a single term).
- Keyword extraction – the AI highlights the main ideas instead of spitting out every filler word.
- Customizable output length – you can ask for a 30‑second recap or a detailed outline.
- Export options – plain text, markdown, or directly to your note‑taking app.
So, what should you do next? Try YTSummarizer free, with free summaries every day and one-time packs from $9 if you need more. If you're a student, you might appreciate a service that lets you pull the summary straight into a Google Doc. Professionals often need the output in a PDF for client briefings. Content creators love the ability to generate a teaser paragraph for social posts.
Here's a quick way to test a candidate: paste a YouTube link, set the summary length to "short," and see if the result captures the three main points you remember from watching the video. If it does, you've found a winner.
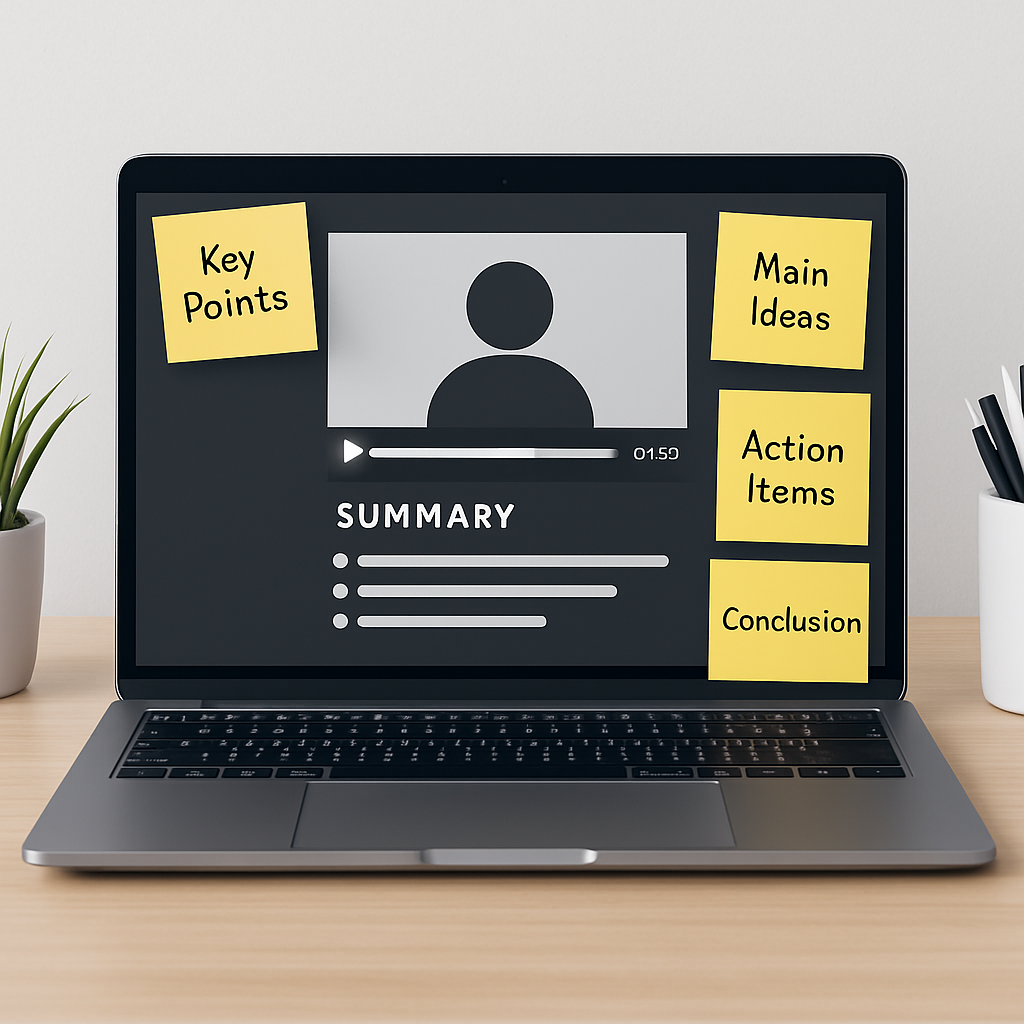
Notice how the summary drops the "um's" and focuses on the speaker's three takeaways. That's the kind of signal you want from any tool you consider.
Step 2: Upload Your Video and Set Transcription Preferences
Once you've locked in your tool, it's time to feed it the video. This step feels obvious, but a few small tweaks can save you from headaches later. Let's walk through the upload process and the settings that actually matter.
First, decide whether you'll paste a YouTube link or upload a local file. In our experience, pasting a link is faster if the video is already public. But if you're working with a recording from Zoom or Teams, you'll need to upload the .mp4 or .mov file directly.
Quick upload checklist
- Check the file size – most tools cap uploads at 500 MB or 2 hours of video.
- Select the language – if the AI knows you're transcribing Spanish or Mandarin, it'll handle accents better.
- Choose "speaker labels" if the video has multiple people talking (great for panel discussions or interviews).
What if your video is really long? Some platforms let you set a custom start and end timestamp. If you only need notes for minutes 15–30, tell the AI to skip the intro and outro. This cuts processing time in half and keeps your summary focused.
Step 3: Generate Notes and Refine the Output
Now comes the fun part: hitting "Generate" and watching the AI work. In most cases, you'll see a progress bar, and within 30–90 seconds, you'll have a fresh summary on your screen.
But don't assume the first draft is perfect. Take a minute to scan the output and look for:
- Missed key terms: If the speaker mentioned a specific author or theory, make sure it's spelled correctly.
- Filler overload: Sometimes the AI keeps phrases like "you know" or "basically." Flag those for deletion.
- Missing context: If a sentence says "That approach is effective" without explaining which approach, add a quick note.
Most modern tools let you edit the summary inline. Just click the text, type your fix, and move on. Some even offer a "re‑generate" button if you want the AI to take another pass with different instructions.

Step 4: Organize Notes into Structured Outlines
Raw notes are useful, but structured notes are gold. This is where you turn a wall of text into a scannable outline that guides your study session or meeting prep.
Start by grouping related ideas under headings. If the lecture covered three main concepts, create three sections. If it was a chronological narrative, break it into "Introduction," "Middle," and "Conclusion." The goal is to make it easy for future‑you to find what you need in 10 seconds or less.
Outline tips that work
- Use bullet points for facts, numbered lists for sequences.
- Add timestamps next to each heading so you can jump back to the video if needed.
- Highlight action items or definitions in bold.
If you're using a tool like YTSummarizer, the AI often auto‑generates headings based on topic shifts. You can tweak those to match your personal style or leave them as‑is.

Step 5: Export and Share Your Notes
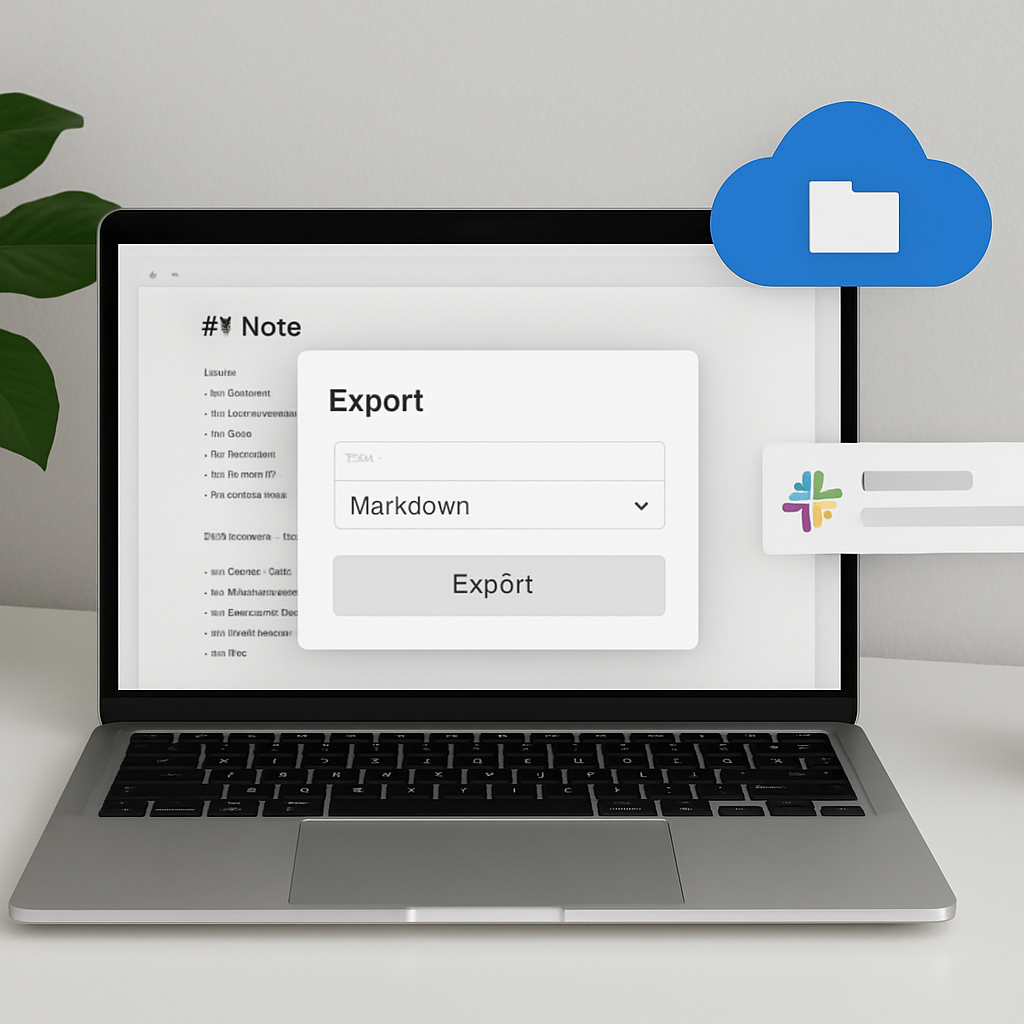
Once your notes look polished, it's time to get them where they need to be. Most tools offer multiple export formats, so pick the one that fits your workflow.
Popular export options
- Plain text (.txt): Universal, works everywhere.
- Markdown (.md): Great for Notion, Obsidian, or GitHub.
- PDF: Perfect for printing or emailing to teammates.
- Google Docs: Some tools let you push directly to your Drive.
If you're working with a team, consider sharing a link to the summary instead of copying the text. That way, everyone sees the same version, and you can update it in one place if you catch a mistake.

Conclusion
Converting video to notes doesn't have to be a grind. With the right AI tool and a simple five‑step workflow, you can turn hours of content into minutes of actionable insights.
Whether you're a student prepping for finals, a professional staying on top of industry webinars, or a creator repurposing content, the process is the same: choose your tool, upload the video, generate the notes, organize them, and export.
Ready to try it yourself? Head over to YTSummarizer and paste in your first video link. See how fast you can go from "long video" to "short notes" – and reclaim those hours for the work that actually matters.
Ready to save hours every week?
Transform any YouTube video into organized notes in seconds.
Start Converting NowFrequently Asked Questions
Can I convert private or unlisted YouTube videos to notes?
Most tools can handle unlisted videos if you have the direct link. Private videos typically require authentication through the platform's API.
How accurate is the transcription?
Modern AI achieves 90-95% accuracy on clear audio. Accents, technical jargon, and background noise can lower that, but a quick manual review usually catches any glaring errors.
What video formats are supported?
Most tools accept MP4, MOV, AVI, and WebM files. For YouTube videos, you can simply paste the URL instead of downloading.
How long does it take to generate notes?
Typically 30-90 seconds for standard-length videos, depending on the tool and server load. Longer videos may take a few minutes.
Can I batch-process multiple videos at once?
Some platforms support batch processing for playlists or multiple URLs. This feature is often available in paid plans and is a huge time-saver for researchers and students.
Do I need technical skills to use video-to-notes tools?
No. Most modern tools are designed for non-technical users. If you can paste a URL and click a button, you can generate notes.
Will the notes capture everything the speaker says?
The transcript will, but the summary focuses on key points. If you need every word, keep the full transcript; if you just need the highlights, use the structured notes.